You can set several aspects of the outline (or border) of the component. These aspects include:
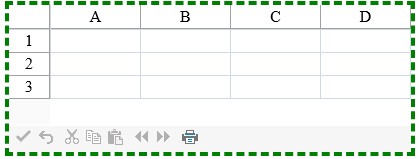
Here is a picture of an example of the outline of the component changed to be a thick dashed green outline. The example below shows the code for these customizations.
Set the border at design time with the Properties window of Visual Studio .NET.
Refer to the Microsoft .NET Framework documentation for setting the units to something other than the default, which is pixels.
Add a line of code that sets the specific border property. The default for the unit of thickness is pixels. For more information, refer to the BorderColor, BorderStyle, and BorderWidth properties in the Border class.
This example shows how to create a green dashed outline that is four pixels thick around the entire component. To see the results, see the figure above.
| C# |
Copy Code
|
|---|---|
FpSpread1.BorderColor = Drawing.Color.Green; FpSpread1.BorderStyle = BorderStyle.Dashed; FpSpread1.BorderWidth = System.Web.UI.WebControls.Unit.Pixel(4); |
|
| VB |
Copy Code
|
|---|---|
FpSpread1.BorderColor = Drawing.Color.Green FpSpread1.BorderStyle = BorderStyle.Dashed FpSpread1.BorderWidth = System.Web.UI.WebControls.Unit.Pixel(4) |
|