Spread ASP.NET 17
Spread for ASP.NET 17 Product Documentation / Developer's Guide / Managing Data Binding / Tutorial: Binding to a Corporate Database
In This Topic
    Tutorial: Binding to a Corporate Database
    In This Topic

    The following tutorial walks you through creating an ASP.NET project and binding the Spread control to a database. These instructions are based on the steps required in Visual Studio 2015 or later.

    Step 1 - Add Spread Control to the Project

    The following steps will help you in adding Spread control to the project:

    1. Start a new Visual Studio .NET project.
    2. Provide a name to your project and the web form.
    3. Now, add the FpSpread component to your project, and then place the component on the web form.

    If you do not know how to add the FpSpread component to the project, refer to Adding a Component to a Web Site using Visual Studio 2019 or Adding a Component to a Web Site using Visual Studio 2015 or 2017.

    Step 2 - Configure Data Source

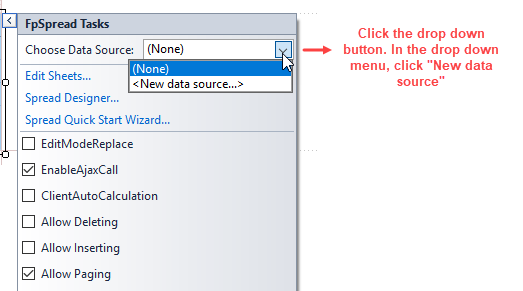
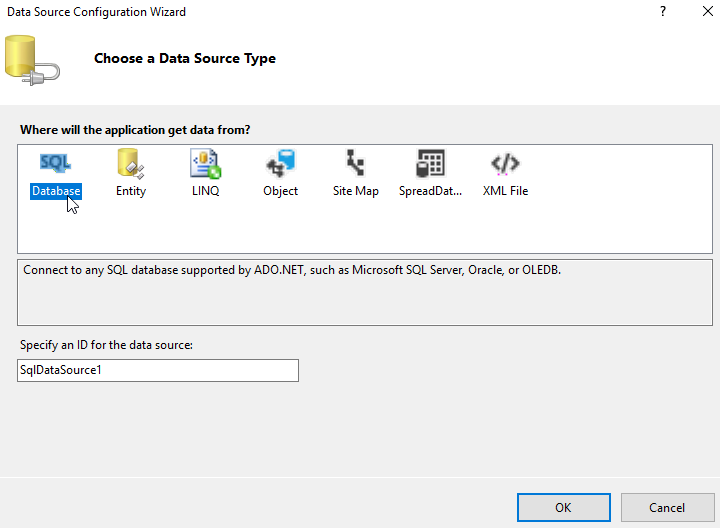
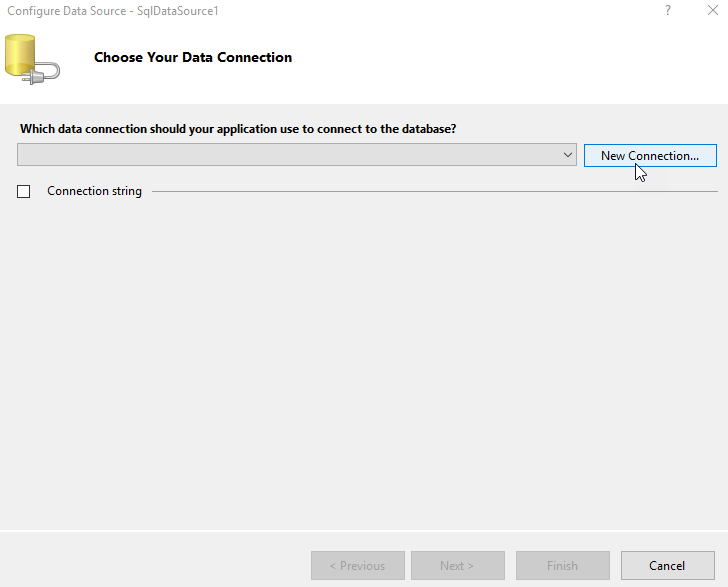
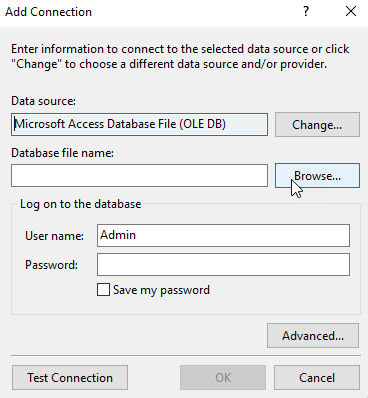
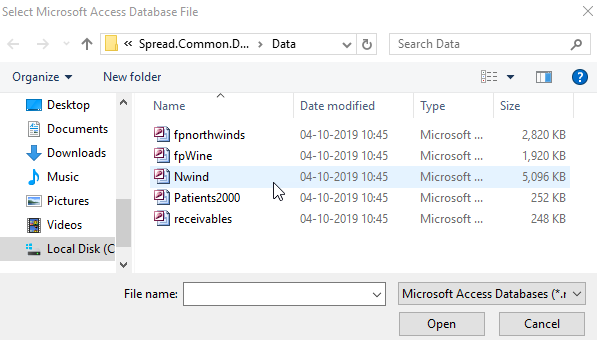
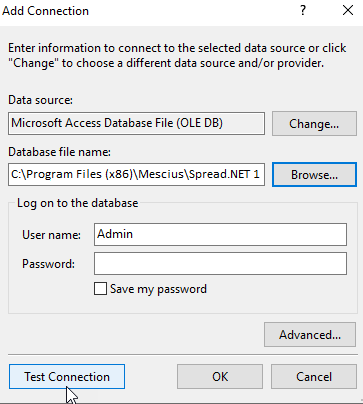
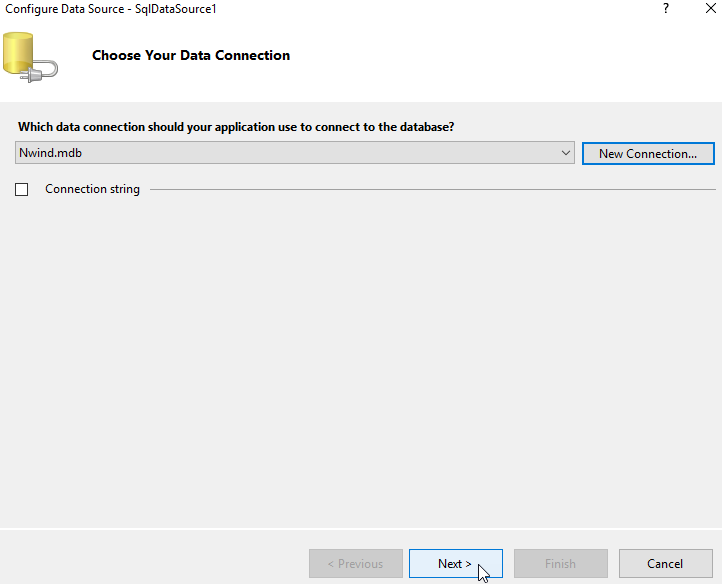
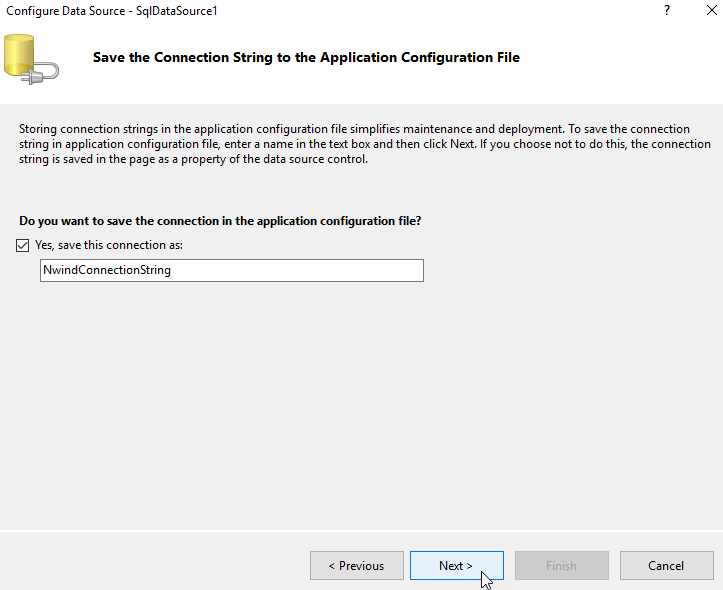
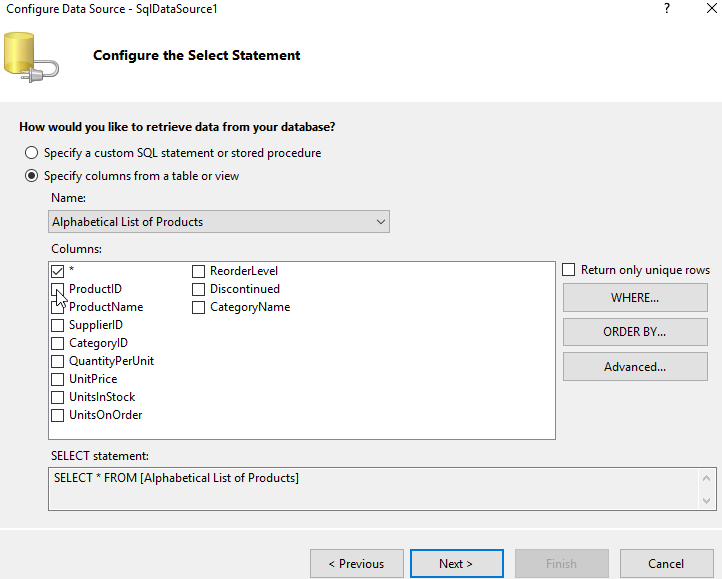
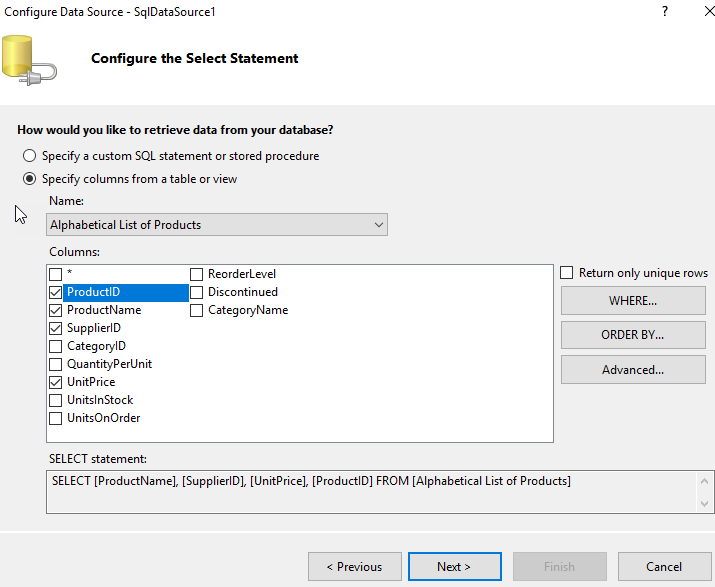
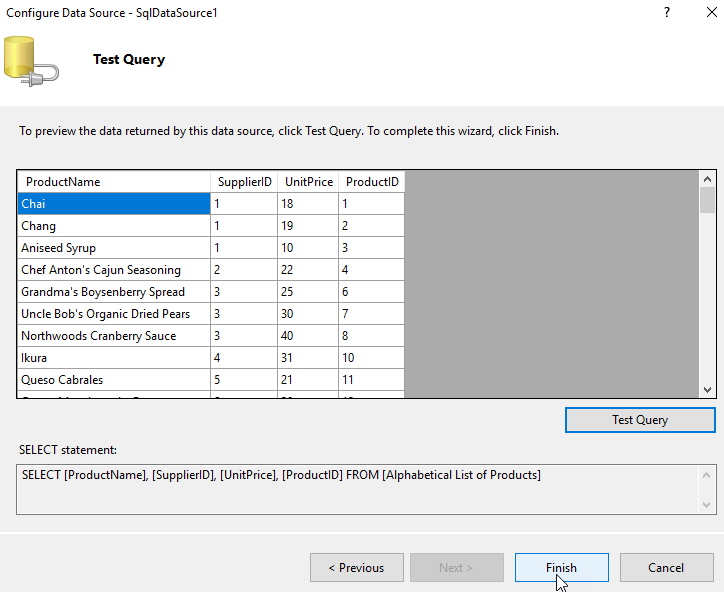
    In this section, we will use the Quickstart menu to set up the database connection and the data set.

    1. Select the web form and click the QuickStart icon to launch the FpSpreadTasks menu as shown in the following image.

      FpSpreadTasks menu


    2. In the FpSpreadTasks menu, go to Choose Data Source and click the drop down button. In the drop down menu that appears, click New data source to open the Data Source Configuration Wizard.

      Choosing a New Data Source


    3. In the Data Source Configuration Wizard, click Database and then click OK.

      Data Source Configuration Wizard: Choose Data Source Type


    4. Under Choose your Data Connection, either choose an existing data connection or click New Connection and then click Next to display the Add Connection dialog.

      Data Source Configuration Wizard: Choose Data Connection


    5. In the Add Connection dialog, click Browse to open the Select Micrsoft Access Database File dialog.

      Add Connection dialog


    6. In the Select Microsoft Access Database File dialog, make sure the folder path is set to C:\Program Files (x86)\Mescius\Spread.NET 15\Windows Forms\v15.xx.xxxxx.x\Samples\C#\Common\Spread.Common.DataStore\Data and then click Open.

      File Explorer


    7. Next, click the Test Connection button in the Add Connection dialog to test the connection. If you do not receive a message stating "Test connection succeeded" retry this step. If you receive the message "Test connection succeeded," your connection is complete. Click OK to close the Add Connection dialog.

      Add Connection dialog: Test the Connection


    8. Now, make sure the database file that you had chosen in the above steps is displayed under Choose Your Data Connection. Click Next to proceed.

      Data Source Configuration Wizard: Choose Data Connection


    9. Under Save the Connection String to the Application Configuration File, make sure the box for Yes, save the connection as is checked, and accept the default name by clicking Next.

      Data Source Configuration Wizard: Saving Connection String


    10. Under Configure the Select Statement, you can either specify a custom SQL statement or you can specify columns from a table or view.

      Data Source Configuration Wizard: Configure Select Statement


    11. If you have chosen the option Specify columns from a table or view, then you need to select one or more columns from the list. For example - in the following image, the columns ProductID, Product Name, Supplier ID, and UnitPrice have been selected. Click Next to proceed.

      Data Source Configuration Wizard: Configure Select Statement


    12. Next, click the Test Query button to display and preview the data. If the preview looks fine to you, click Finish; else click Previous and repeat the above steps.

      Data Source Configuration Wizard: Test Query


    13. The Nwind database is now added to your project. Notice that the column headers in Spread control get changed to the field names (ProductName, Supplier ID, UnitPrice, and ProductID) fetched from the Products table in your database. Now, save your project and run it. You should see a form that looks similar to the following image with table data populated across the spreadsheet.

      Table Data


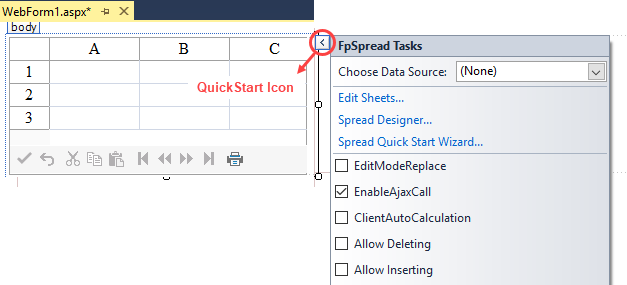
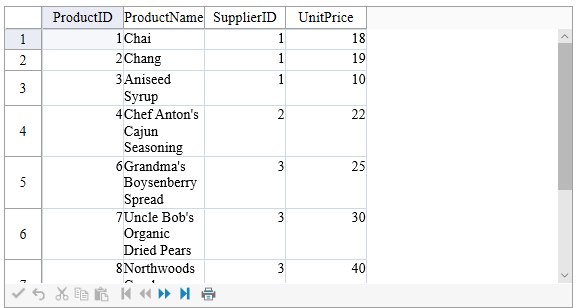
      If your form doesn't look similar to the image shown above, adjust the size of your Spread control and re-check the steps that you have performed so far.

    14. Alternatively, if you want to bind the data source to Spread control via code, you can add the following snippet to the form.

      C#
      Copy Code
      FpSpread1.DataSource = SqlDataSource1;
      

      VB
      Copy Code
      FpSpread1.DataSource = SqlDataSource1
      

    Step 3 - Improve the Display of Data

    In this step, you can change the cell type for one of the columns to display the data from the database in a better way.

    1. Double-click on the form to open the code window.
    2. Set the cell type for the UnitPrice column by adding the following code snippet below the code in the Form_Load event.
    3. Save your project.

    The following code snippet can be added to enhance the display of the data fetched from the database.

    C#
    Copy Code
    FarPoint.Web.Spread.StyleInfo style = new FarPoint.Web.Spread.StyleInfo();
    FarPoint.Web.Spread.CurrencyCellType curPrice = new FarPoint.Web.Spread.CurrencyCellType();
    curPrice.FixedPoint = true;
    style.CellType = curPrice;
    style.HorizontalAlign = HorizontalAlign.Right;
    style.VerticalAlign = VerticalAlign.Middle;
    FpSpread1.ActiveSheetView.SetStyleInfo(-1, 3, style);
    

    VB
    Copy Code
    Dim style As FarPoint.Web.Spread.StyleInfo
    style = New FarPoint.Web.Spread.StyleInfo()
    Dim curPrice As New FarPoint.Web.Spread.CurrencyCellType()
    curPrice.FixedPoint = True
    style.CellType = curPrice
    style.HorizontalAlign = HorizontalAlign.Right
    style.VerticalAlign = VerticalAlign.Middle
    FpSpread1.ActiveSheetView.SetStyleInfo(-1, 3, style)