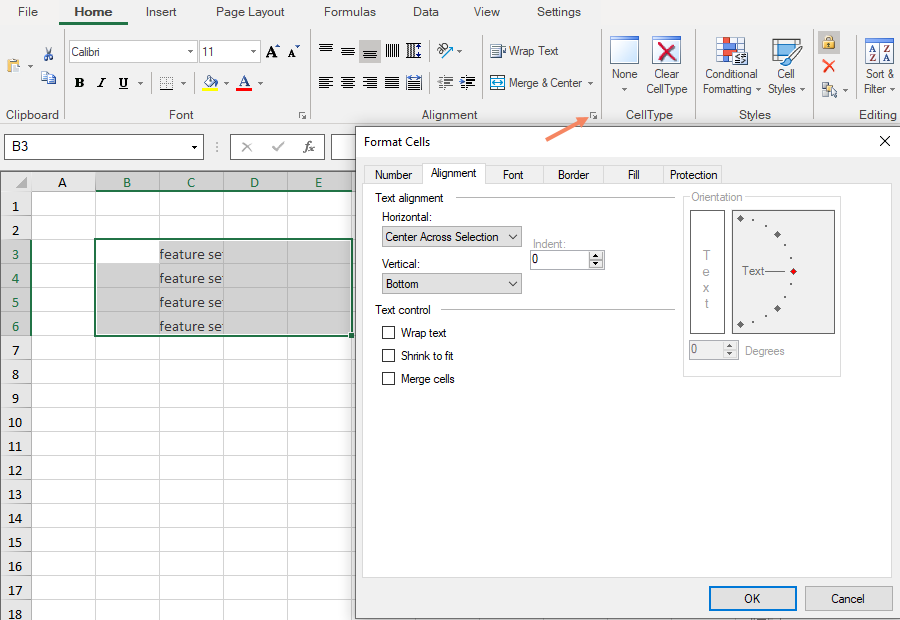
You can center align the contents of the selected cells across columns without merging the cells. This type of horizontal alignment can be set using the HorizontalAlignment.CenterAcrossSelection enumeration option from GrapeCity.Spreadsheet namespace.
In order to implement CenterAcrossSelection alignment option, FpSpread’s AllowCellOverflow must be set to true and FpSpread’s BorderCollapse must be set to ‘Enhanced’.
This example code sets the center across selection for the cells:
| C# |
Copy Code
|
|---|---|
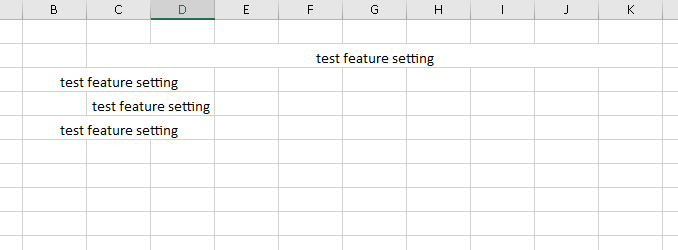
fpSpread1.AllowCellOverflow = true; fpSpread1.BorderCollapse = BorderCollapse.Enhanced; IWorksheet TestActiveSheet = fpSpread1.AsWorkbook().ActiveSheet; TestActiveSheet.Cells[1, 2].Text = "test feature setting"; TestActiveSheet.Cells[1, 2, 1, 10].HorizontalAlignment = GrapeCity.Spreadsheet.HorizontalAlignment.CenterAcrossSelection; //set for big range TestActiveSheet.Cells[2, 2].Text = "test feature setting"; TestActiveSheet.Cells[2, 2].HorizontalAlignment = GrapeCity.Spreadsheet.HorizontalAlignment.CenterAcrossSelection; //set for 1 cell TestActiveSheet.Cells[3, 2].Text = "test feature setting"; TestActiveSheet.Cells[3, 2, 3, 3].HorizontalAlignment = GrapeCity.Spreadsheet.HorizontalAlignment.CenterAcrossSelection; //set for small range start from data cell TestActiveSheet.Cells[4, 2].Text = "test feature setting"; TestActiveSheet.Cells[4, 1, 4, 2].HorizontalAlignment = GrapeCity.Spreadsheet.HorizontalAlignment.CenterAcrossSelection; //set for small range end by data cell |
|
| VB |
Copy Code
|
|---|---|
FpSpread1.AllowCellOverflow = True FpSpread1.BorderCollapse = BorderCollapse.Enhanced Dim TestActiveSheet As IWorksheet = FpSpread1.AsWorkbook().ActiveSheet TestActiveSheet.Cells(1, 2).Text = "test feature setting" TestActiveSheet.Cells(1, 2, 1, 10).HorizontalAlignment = GrapeCity.Spreadsheet.HorizontalAlignment.CenterAcrossSelection 'set for big range TestActiveSheet.Cells(2, 2).Text = "test feature setting" TestActiveSheet.Cells(2, 2).HorizontalAlignment = GrapeCity.Spreadsheet.HorizontalAlignment.CenterAcrossSelection 'set for 1 cell TestActiveSheet.Cells(3, 2).Text = "test feature setting" TestActiveSheet.Cells(3, 2, 3, 3).HorizontalAlignment = GrapeCity.Spreadsheet.HorizontalAlignment.CenterAcrossSelection 'set for small range start from data cell TestActiveSheet.Cells(4, 2).Text = "test feature setting" TestActiveSheet.Cells(4, 1, 4, 2).HorizontalAlignment = GrapeCity.Spreadsheet.HorizontalAlignment.CenterAcrossSelection 'set for small range end by data cell |
|