You can customize the headers of rows or columns using the Header Editor. To launch the Header Editor in Spread Designer, select a header cell or cells, right-click, and select Headers. The Header Editor appears as shown in this figure.
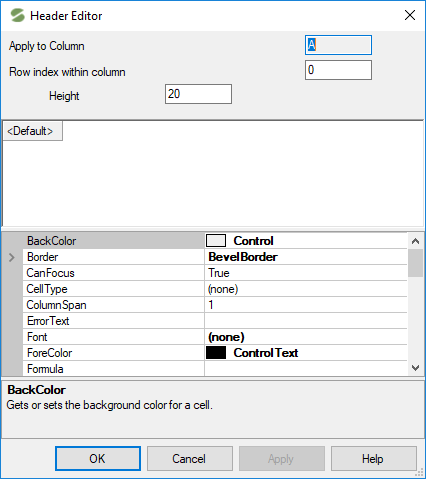
The Header Editor lets you specify different properties in the header of a particular row or column or range of row or columns. If the editor is opened after selecting more than one header, you can choose to select the specific headers from the preview section. The selection reflects in the "Apply to Column field" (or "Apply to Row field").
Similarly, if you have a multiple-row column header (or a multiple-column row header), then you can select the specific column (or row).
You can set the height or width of the selected columns or rows in pixels. The text in the header of a particular row or column or range of row or columns can also be set in the preview section.
In the property list, select or type the properties you wish to set, and the preview window shows the header as it appears when you click the Apply button.
You can click Apply to add the settings to the selected header cell and keep the editor open so that you can select more headers. When done, click OK.
The following GIF illustrates the horizontal alignment of multiple selected columns set to "Right" using the Header Editor.

For more information on customizing headers, refer to Customizing the Appearance of Headers in the Developer’s Guide. For more details on managing the headers in code, refer to the ColumnHeader and RowHeader classes.