You can customize the skin, the collection of appearance settings, for the entire control with the SpreadSkin Editor of the Spread Designer. To launch the SpreadSkin Editor, from the Settings menu (Appearance section), select the SpreadSkin Editor icon. Or from the Properties window with the spread selected, in the Appearance category, select Skin and click on the button. The SpreadSkin Editor appears with the Default skin selected. This figure shows a particular skin selected to illustrate the preview of that skin.
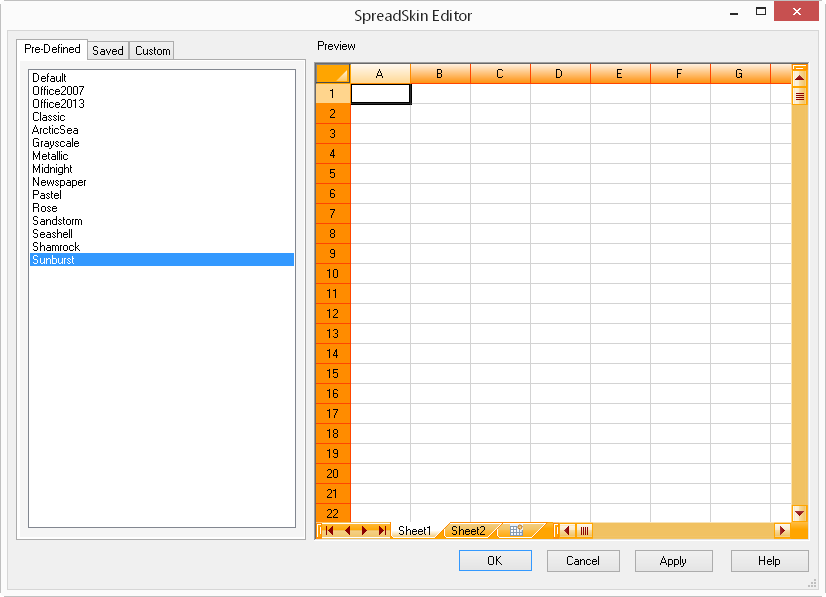
The left side of the editor allows you to choose the skin, and the right side shows a preview of the appearance before you apply it to the sheet. The first tab, Pre-Defined, lists the built-in skins that are already available and ready to use and customize. You can simply click on a skin name and see a small sample of the appearance in the Preview area. The second tab, Saved, lists any saved custom skins that are available. This shows any files that you have saved. You can then preview that skin and either customize it further or apply it as is. The third tab, Custom, allows you to create your own custom skin or customize either one of the pre-defined skins or a skin loaded from a file.
Click Apply to apply that skin with all its appearance settings in the Spread Designer.
For more information about adding a new custom skin, refer to Creating a Custom Skin for a Sheet in the Developer’s Guide.
For more information on loading and saving skins as files, refer to Saving and Loading a Skin in the Developer’s Guide.
For details about the properties of a skin, refer to the SpreadSkin class.