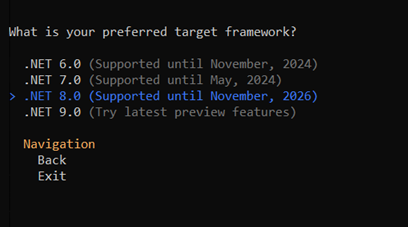
Spread for WinForms supports the .NET 8 platform. If you want to migrate your .NET Framework projects/solutions to the .NET 8 platform, follow the step-by-step instructions provided in this topic.
The portability analyzer is not yet available in Visual Studio 2022. Therefore, you can update your application using the steps given below.
dotnet tool install -g upgrade-assistant
upgrade-assistant upgrade <solution file path>


For more information on .NET upgrade assistance, refer to Overview of the.NET Upgrade Assistant.
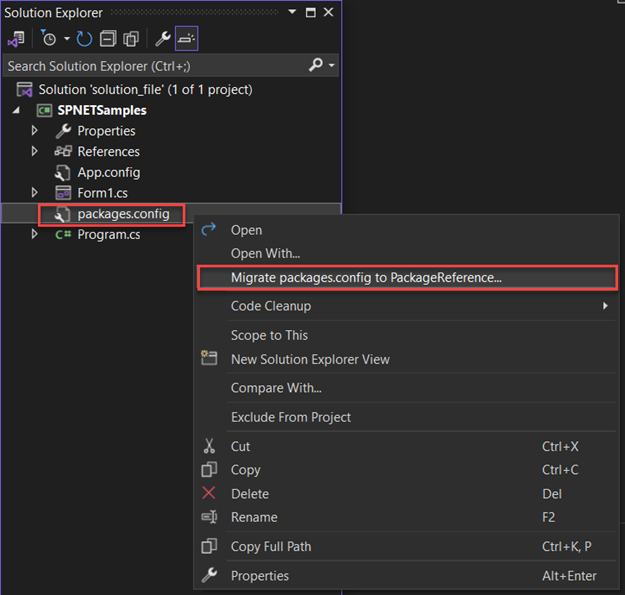
Note that if your project's packages.config file does not have NuGet references, you can skip the first two steps of migrating the NuGet format to PackageReference and proceed directly to step 3 of this section.
| .csproj file |
Copy Code
|
|---|---|
<Project Sdk="Microsoft.NET.Sdk"> <PropertyGroup> <OutputType>WinExe</OutputType> <TargetFramework>net8.0-windows</TargetFramework> <UseWindowsForms>true</UseWindowsForms> </PropertyGroup> </Project> |
|
| .csproj file |
Copy Code
|
|---|---|
<ItemGroup>
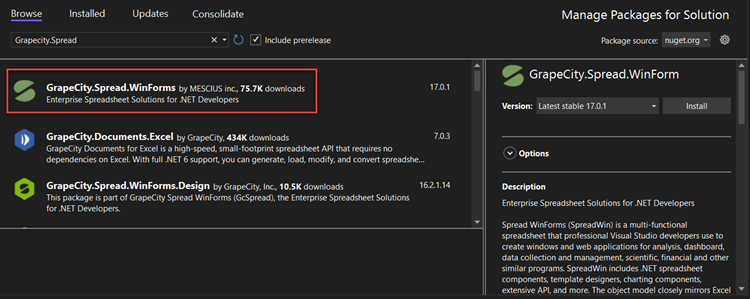
<PackageReference Include="GrapeCity.Spread.WinForms">
<Version>x.x.x.x</Version>
</PackageReference>
</ItemGroup>
|
|
| .csproj file |
Copy Code
|
|---|---|
<PropertyGroup>
    <GenerateAssemblyInfo>false</GenerateAssemblyInfo>
</PropertyGroup>
|
|
| .csproj file |
Copy Code
|
|---|---|
<Project Sdk="Microsoft.NET.Sdk"> <PropertyGroup> <OutputType>WinExe</OutputType> <TargetFramework>net8.0-windows</TargetFramework> <UseWindowsForms>true</UseWindowsForms> </PropertyGroup> <ItemGroup> <PackageReference Include="GrapeCity.Spread.WinForms"> <Version>x.x.x.x</Version> </PackageReference> </ItemGroup> <PropertyGroup> <GenerateAssemblyInfo>false</GenerateAssemblyInfo> </PropertyGroup> </Project> |
|