You can set the appearance of the outline of the overall component. The following figures show the types of outlines (or border) styles.
| Outline (Border) Style | Example |
|---|---|
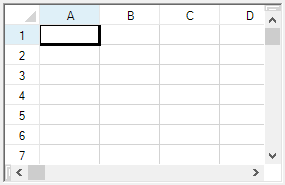
| Fixed, three-dimensional (default) |
|
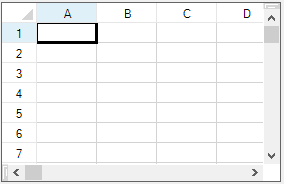
| Fixed, single-line |
|
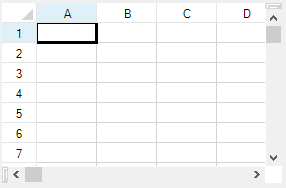
| None |
|
For more details, refer to the FpSpread.BorderStyle property and the BorderStyle enumeration in the Microsoft .NET Framework.
Add a line of code that sets the specific property, the BorderStyle property of the FpSpread class.
This example shows how to set the border to be a single-line border.
| C# |
Copy Code
|
|---|---|
fpSpread1.BorderStyle = BorderStyle.FixedSingle; |
|
| VB |
Copy Code
|
|---|---|
fpSpread1.BorderStyle = BorderStyle.FixedSingle |
|