You might want to set up your sheet so that alternating rows have a different appearance. For example, in a ledger, alternating rows often have a green background. In Spread, you can set up multiple alternating row appearances, which are applied in sequence, starting with the first row.
Set up the alternating rows using an index into the alternating row appearances. It might help to think of the default row appearance as the first alternating row style (or style zero, because the index is zero-based). Set the other alternating row appearances to subsequent indexes.
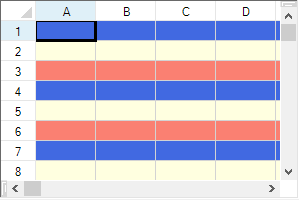
The figure here shows the results for the following example code for setting up alternating rows for every three rows.
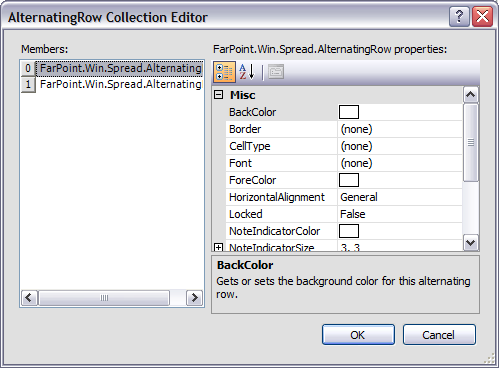
For more details, refer to the AlternatingRow class.
Set using the index to the AtermatingRows property of SheetView class.The default row style is the first style (with index "0") of the appearance of every other row.When applying the default row style to the first row, set the index after "1" to other row style.
This example code creates a sheet that has three different appearance settings for rows. The first row uses the default appearance. The second row has a light blue background with navy text, and the third row has a light yellow background with navy text. This pattern repeats for all subsequent rows.
| C# |
Copy Code
|
|---|---|
fpSpread1.Sheets[0].AlternatingRows.Count = 3; fpSpread1.Sheets[0].AlternatingRows[0].BackColor = Color.RoyalBlue; fpSpread1.Sheets[0].AlternatingRows[0].ForeColor = Color.Navy; fpSpread1.Sheets[0].AlternatingRows[1].BackColor = Color.LightYellow; fpSpread1.Sheets[0].AlternatingRows[1].ForeColor = Color.Navy; fpSpread1.Sheets[0].AlternatingRows[2].BackColor = Color.Salmon; fpSpread1.Sheets[0].AlternatingRows[2].ForeColor = Color.Navy; |
|
| VB |
Copy Code
|
|---|---|
fpSpread1.Sheets(0).AlternatingRows.Count = 3 fpSpread1.Sheets(0).AlternatingRows(0).BackColor = Color.RoyalBlue fpSpread1.Sheets(0).AlternatingRows(0).ForeColor = Color.Navy fpSpread1.Sheets(0).AlternatingRows(1).BackColor = Color.LightYellow fpSpread1.Sheets(0).AlternatingRows(1).ForeColor = Color.Navy fpSpread1.Sheets(0).AlternatingRows(2).BackColor = Color.Salmon fpSpread1.Sheets(0).AlternatingRows(2).ForeColor = Color.Navy |
|