By default, C1ColorPicker appears below the control when the user clicks the drop-down arrow at runtime. However, users can change the direction in which the control appears at runtime simply by making some simple changes either at Design-time, in XAML or in the code.
To change the drop-down window direction at design time:
This will set the DropDownDirection property of ColorPicker control as per your selection.
Change the drop-down window direction in XAML by adding DropDownDirection="ForceAbove" to the <Extended:C1ColorPicker> tag. The XAML view should appear similar to the following:
| XAML |
Copy Code
|
|---|---|
<Extended:C1ColorPicker x:Name="C1ColorPicker1" HorizontalAlignment="Left" VerticalAlignment="Top" Margin="147,553,0,0" Height="77" DropDownDirection="ForceAbove"/> |
|
Through code, you can customize the direction in which the drop-down window should appear by adding the following code below the constructor.
| Visual Basic |
Copy Code
|
|---|---|
Me.C1ColorPicker1.DropDownDirection = DropDownDirection.ForceAbove
|
|
| C# |
Copy Code
|
|---|---|
this.C1ColorPicker2.DropDownDirection = DropDownDirection.ForceAbove;
|
|
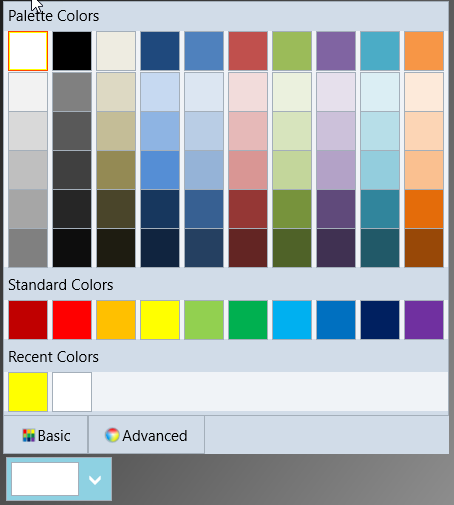
Run the application. Observe that on clicking the C1ColorPicker's drop-down arrow, the drop-down appears above the C1ColorPicker control similar to the following image.