The report generated for you by the wizard is a good starting point, but you will usually need to adjust and enhance it to get exactly what you want. You can do this with the C1ReportDesigner application. See Step 1 of 4: Creating a Report Definition, to learn how to create a basic report definition.
To start using the Designer, click the Design mode. The right pane of the main window switches from Preview mode to Design mode, and it shows the controls and fields that make up the report:
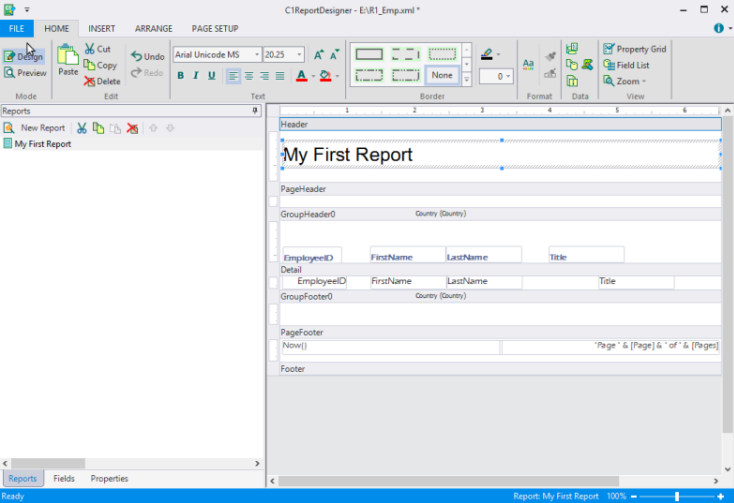
The picture shows how the report is divided into sections (Header, Page Header, Detail, and so on). The sections contain fields that hold the labels, variables, and expressions that you want in the printed report. In this example, the Header section contains a label with the report title. The Page Header section contains labels that identify the fields in the Detail section, and the Page Footer section contains fields that show the current time, the page number and the total page count for the report.
The sections of the report determine what each page, group, and the beginning and end of the report look like. The following table describes where each section appears in the report and what it is typically used for:
| Section | Appears | Typically Contains |
|---|---|---|
| Report Header | Once per report | The report title and summary information for the whole report. |
| Page Header | Once per page | Labels that describe detail fields, and/or page numbers. |
| Group Header | Once per group | Fields that identify the current group, and possibly aggregate values for the group (for example, total, percentage of the grand total). |
| Detail | Once per record | Fields containing data from the source recordset. |
| Group Footer | Once per group | Aggregate values for the group. |
| Page Footer | Once per page | Page number, page count, date printed, report name. |
| Report Footer | Once per report | Summary information for the whole report. |
Note that you cannot add and delete sections directly. The number of groups determines the number of sections in a report. Every report has exactly five fixed sections (Report Header/Footer, Page Header/Footer, and Detail) plus two sections per group (a Header and Footer). You can hide sections that you don't want to display by setting their Visible property to False.
You can modify sections by changing their properties with the Properties window, or move and resize them with the mouse.
To resize a section, select its border and with your mouse pointer drag to the position where you want it. The rulers on the left and on top of the design window show the size of each section (excluding the page margins). Note that you cannot make the section smaller than the height and width required to contain the fields in it. To reduce the size of a section beyond that, move or resize the fields in it first, then resize the Section.
To see how this works, move the mouse to the area between the bottom of the Page Header section and the gray bar on top of the Detail Section. The mouse cursor changes to show that you are over the resizing area. Click the mouse and drag the line down until the section is about twice its original height.
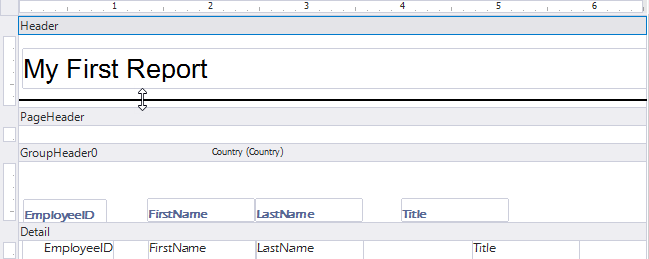
Release the mouse button and the section is resized.