How to Achieve RightToLeft Layout in DataTree
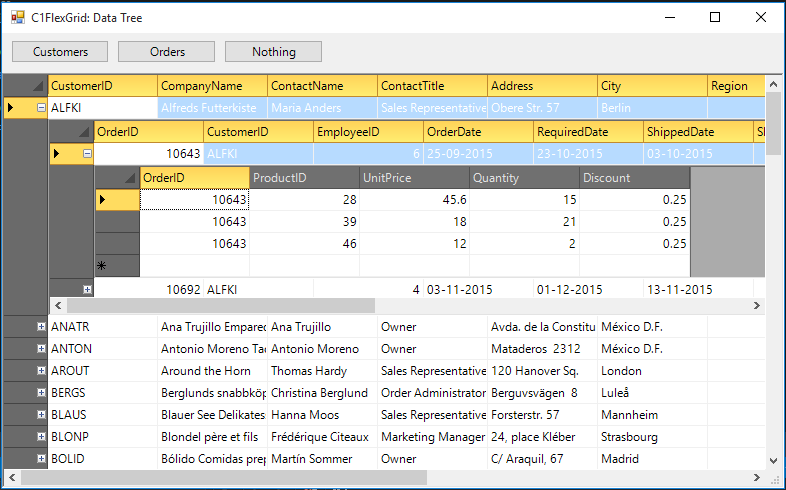
C1FlexGrid provides the feature of creating outline trees, where one can show an indented structure with collapse/expand icons next to each node row. The user can, then, expand and collapse the outline to see the desired level of detail. For this, C1FlexGrid allows you to use its Tree property and Subtotal method.
Now, if there comes any thought on how to bind the grid to a hierarchical data source and show details in child grids, then we already have an application "DataTree" demonstrating the same, at this location: Documents\ComponentOne Samples\WinForms\C1FlexGrid\CS\DataTree provided default installation location has not been changed.
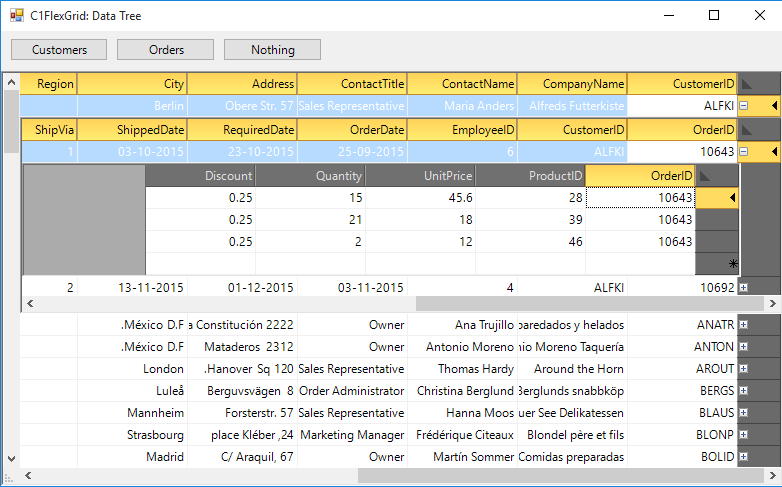
This is accomplished by deriving a control (C1FlexDataTree) from the C1FlexGrid control. When bound, the control detects subordinate data sources and creates its additional instances to display child tables. This is great so far. But if it is required to set the RightToLeft layout in this hierarchical display then you need to handle this through code only.
Achieving Right-to-Left Layout
This article walks through the steps to achieve right-to-left layout by handling the rendering of these child grids through code. It is easy to achieve, by following the two steps as mentioned below:
First, we'll set the RightToLeft property of the parent grid to RightToLeft.Yes value.
this._flex.RightToLeft = System.Windows.Forms.RightToLeft.Yes;
Next, in UpdatePosition method of C1FlexDataTree.cs, child location and client size are calculated as follows:
rc.X = rc.Left - parent.ScrollableRectangle.Width;
rc.Y = rc.Bottom;
rc.Width = Cols[Cols.Count - 1].Left;
rc.Width = Math.Max(Cols[Cols.Count - 1].Left, parent.ScrollableRectangle.Width);
The complete implementation can be found in the modified sample below:
Please comment if you have any queries/suggestions.

Meenakshi Singh